Hey! 😊
Today I’m writing a little post about the two handmade room decorations I have made recently.
Anyone can make these, they are cheap as chips to make (you might even have some of the stuff you need lying around the house) and won’t take longer than an hour to do both. They are really quick and easy but add such personality to my bedroom that I thought I’d share them with you.
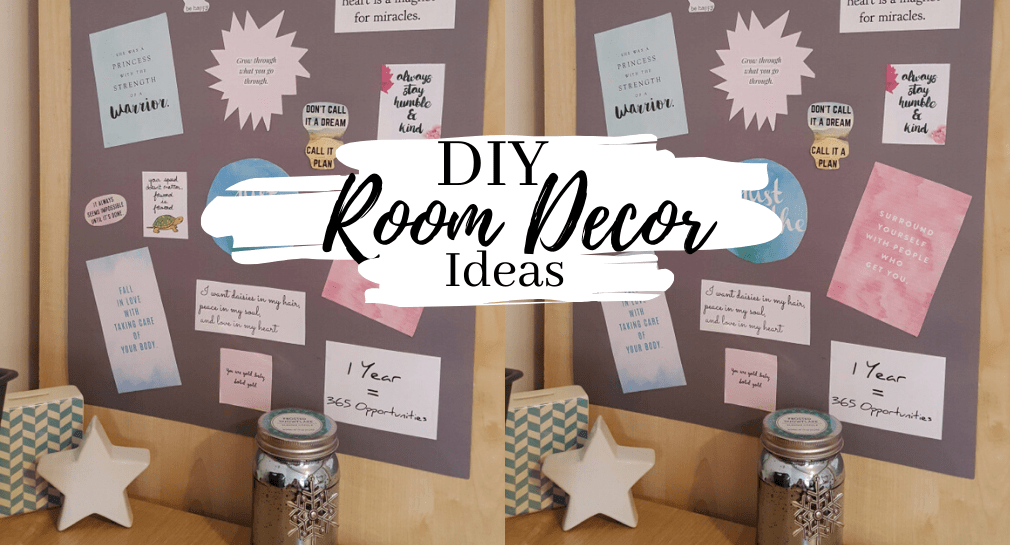
1. The first one is this Quotes poster!
Now I’m obsessed with quotes and I’m all about the power of positivity. I think a good positive quote can change your mood instantly that’s why I have a full album of them on my phone, but I wanted them somewhere I could always be reminded of them and read my favourite ones when I’m having a bit of a meh day and struggling to find motivation!
This is mine:

Here’s how to make it:
Buy a piece of A2/A3 coloured card of your choice – I picked mine up in WHSmith but you can pretty much get a piece of card at any stationary store for a couple quid.
Then simply print out about 15/20 of your favourite quotes and cut them in all different shapes and sizes.
It does stand out more if they are all different colours but if you prefer black and white I think you could make it look really chic if you add some craft glitter and diamonds to stick around the quotes. Get crafty and see what happens.
Lay all the cutout quotes on the card and arrange them how you want them before you glue them down.
Let it dry and simply stick on your wall with some trusty blue tac.
Stand back and enjoy your new piece of wall art. Easy peasy!
2. Ribbon Photo Holder!
The second is this Ribbon and peg photo holder. I’m sure you can buy these already made or slightly more fancy ones but the one I have made is so cheap and fun to do, and you can choose exactly how you want it to look. I decided to make this because I love printing all my photos out but normally just put them straight into a photo album. This time I thought it would be nice to put a few recent ones out on show but I quickly realised that picture wall frames are quite expensive and the standing ones take up a lot of room! That’s why this ribbon photo holder is so perfect!
Here is mine:

Here’s how to make it:
You will need:
- Two standard wall nails and a hammer
- A roll of 10 – 20mm grosgrain ribbon – Go with a colour that’s going to match your room well!
- A pack of 20 wooden pegs – I have wooden pegs because I have a lot of wood effect in my room but you can get all different colours and designs.
- Printed photos of your choice
Firstly cut the ribbon to the length you’d like to go across your wall and depending on how many photos you’d like it to hold.
Then I simply hammered the two nails in either side of the wall making sure they lined up by using a tape measure and marking with a pen. Then I tied the ribbon round the nails in a knot to put the ribbon up – I cut an extra two little bits of ribbon and tied them over the top of the nails on each end to create a bow and that way the nail is not visible at all.
Once the ribbon is up Print out your favourite pictures – As many as you like to fit the ribbon length you’ve created, mine has 10 on! You can choose to go with a theme like all black and white photos or all photos from a certain event/month – again whatever you feel like doing do it. Make it your own.
TIP: Printing the photos is the most expensive part of this project but I have found a really cheap way round it. That being I got my prints off an app called Free prints and I was even able to get a deal were I got my first 10 photos free with free delivery. It’s a really good app the photos were so clear and great quality! It’s definitely worth a look!
Then all that’s left to do is use the wooden pegs and start pegging your photos along the ribbon! Looks so cute right?!
If you decide to make any of these please send it my way on Instagram or let me know in the comments how you got on. Lots of love, Lou 💗 xxx
LINKS ⬇️⬇️⬇️

Leave a Reply